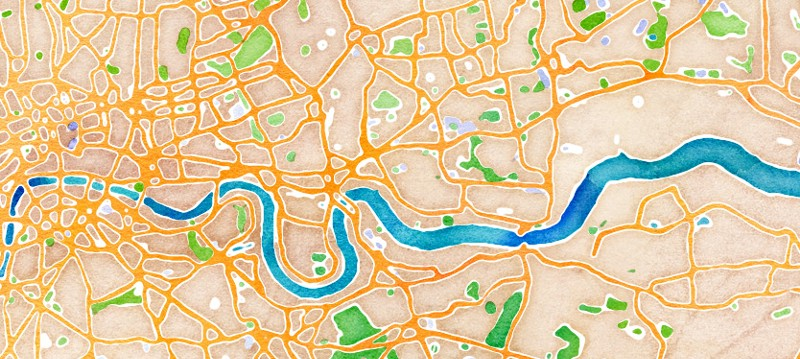
I was recently asked how to do Stamen Watercolor in MapLibre at the State of the Map in Salt Lake City after a talk about Stadia & Stamen’s recent revival of the old Stamen styles.
Except Watercolor.
There are ways you could hack it at the app level, but a more interesting question is:
“How would you extend the Style Sheet spec and the renderer to something like Stamen Watercolor?”
It’s a fascinating idea with some surprisingly valuable outcomes.
The Problem
You have to read Stamen’s process post on the subject. Go ahead, I’ll wait.
What stands out is the image processing. There is a lot of image tweaking before those polygons reach the screen.
The key is the journey those polygons take. With MapLibre, they go right to the screen. For Watercolor, they need to be rendered, sorted, manipulated, and recombined.
We need to add more stages to that journey to do this right.
The Solution
The essence of what Stamen is doing is rendering polygons to an image and then ‘doing stuff’ to the image. That first parse is tricky: We need to separate classes of features for image processing.
This process is standard in real-time rendering. Think of a game that uses shadows or one that has a blurring effect for the whole screen. All that’s doing is drawing polygons to an image, ‘doing stuff’ to the image and then drawing the result to the screen.
We’d need the same thing in MapLibre, and they’re called Render Targets. The toolkit has these, but they’re only used in limited cases, like for hillshade.
Render Target in the Style Sheet
Let’s see how a Render Target might look in a style sheet and how you might use them in the existing layers.
For Watercolor, Stamen draws everything together in one bright image with distinct colors they can pick out later.
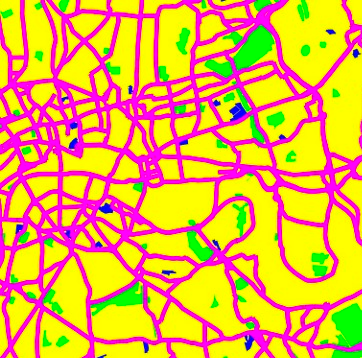
Let’s start there. How do we get all those layers to draw an offscreen image? Let’s define something new in the Style Spec called Target.

If it’s just a name, does it need to be defined independently? It will get more complex as you implement it, so trust me on this.
Now, we need to get data into that tile-sized image we’re calling watercolor-target. To do this, we need to add something to the regular layer definition.

By default, layers go to the screen. This process allows a layer to be drawn into the rendered target image. All the same rules apply with ordering, color, and so on. It’s just an offscreen image.
That will give us our brightly defined sources as above. What do we do with that?
Stamen Watercolor Image Processing Layer
We need a way to build up a little image-processing pipeline that takes the watercolor-target and produces a mask we can use with a particular layer. Here’s the one Stamen used for land.
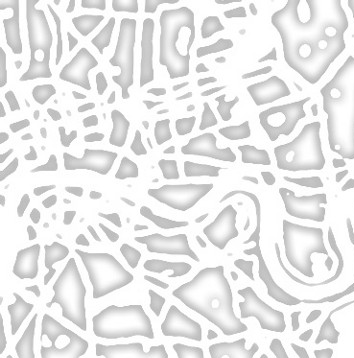
Image processing is extremely finicky but surprisingly fast on modern devices. It all comes down to what you can do with a convolution kernel, even though you may call it ‘shapen’ or ‘blur’ for the cartographer.
I’d suggest a new layer type with a list of operations similar to this for the land.
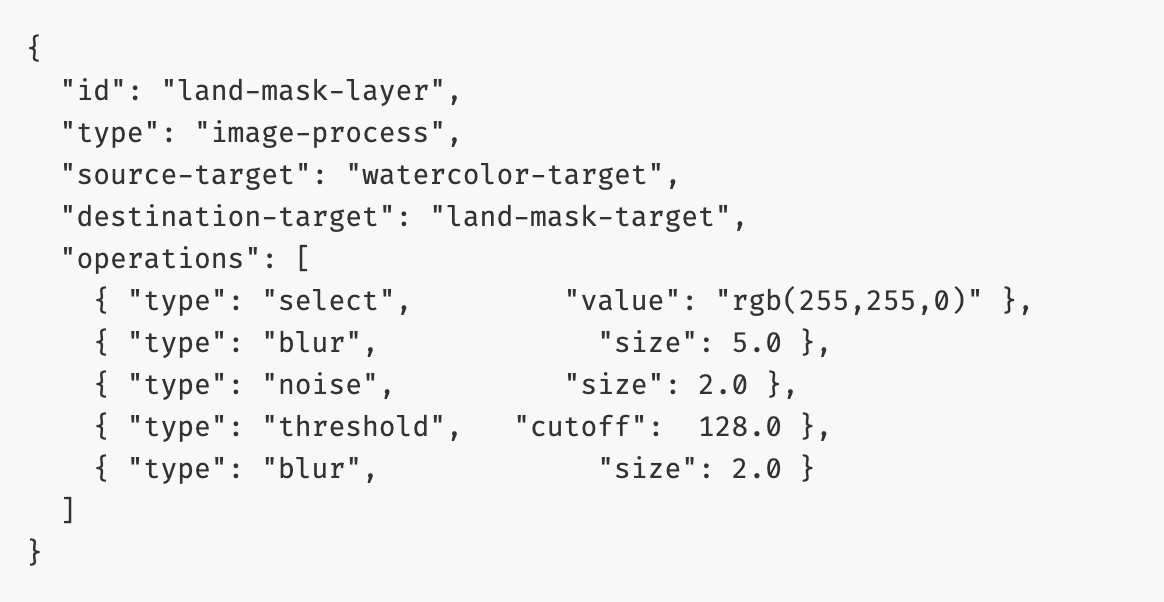
This new layer writes to a new target called land-mask-target, which we’ll use when we combine these on the display.
I was riffing for the operations, but it’s similar to what Stamen did. There’s another Gaussian blur pass meant to pick up shadow highlights. I’ll leave it as an exercise for the reader.
From the Stamen post, I’m guessing at four categories: land, water, urban, and green space. Thus, we’ll need a mask for each. Once we’ve got those, the rest is kind of easy.
Putting it All Together
All we need to do now is draw our mask images to the screen with the appropriate color and texture. We already have a layer type to do that, so why not just adapt Fill?

We can use layer ordering to control how they’re drawn for a result like this.
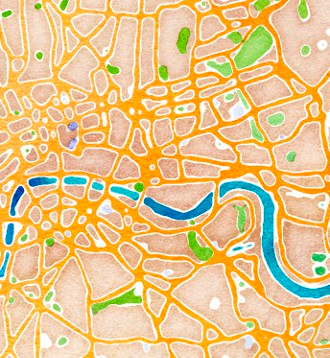
That’s how you’d implement something like Stamen Watercolor in MapLibre: Add an image processing pipeline to the style sheet spec.
Performance
The performance is better than you might think. Modern devices are good at image processing, and this only happens when a tile first loads. However, more on that in the next section.
The problem is this does need to happen on tile load. Much of that work takes place on a background thread for mobile rather than for the web.
Even on mobile, the rendering bits happen in the main thread, so this would affect the frame rate as the tiles were loading. Perhaps this is an opportunity to move some work to a background thread. It’s very doable.
Now for one last issue. Doing the work per tile makes sense for Stamen Watercolor, assuming there aren’t tile boundary issues. But there are plenty of effects you want *per frame*.
Per Frame Variant
The watercolor effect would work better per tile because of the noise and clipping operations. But if you zoom in too far, what do you get?
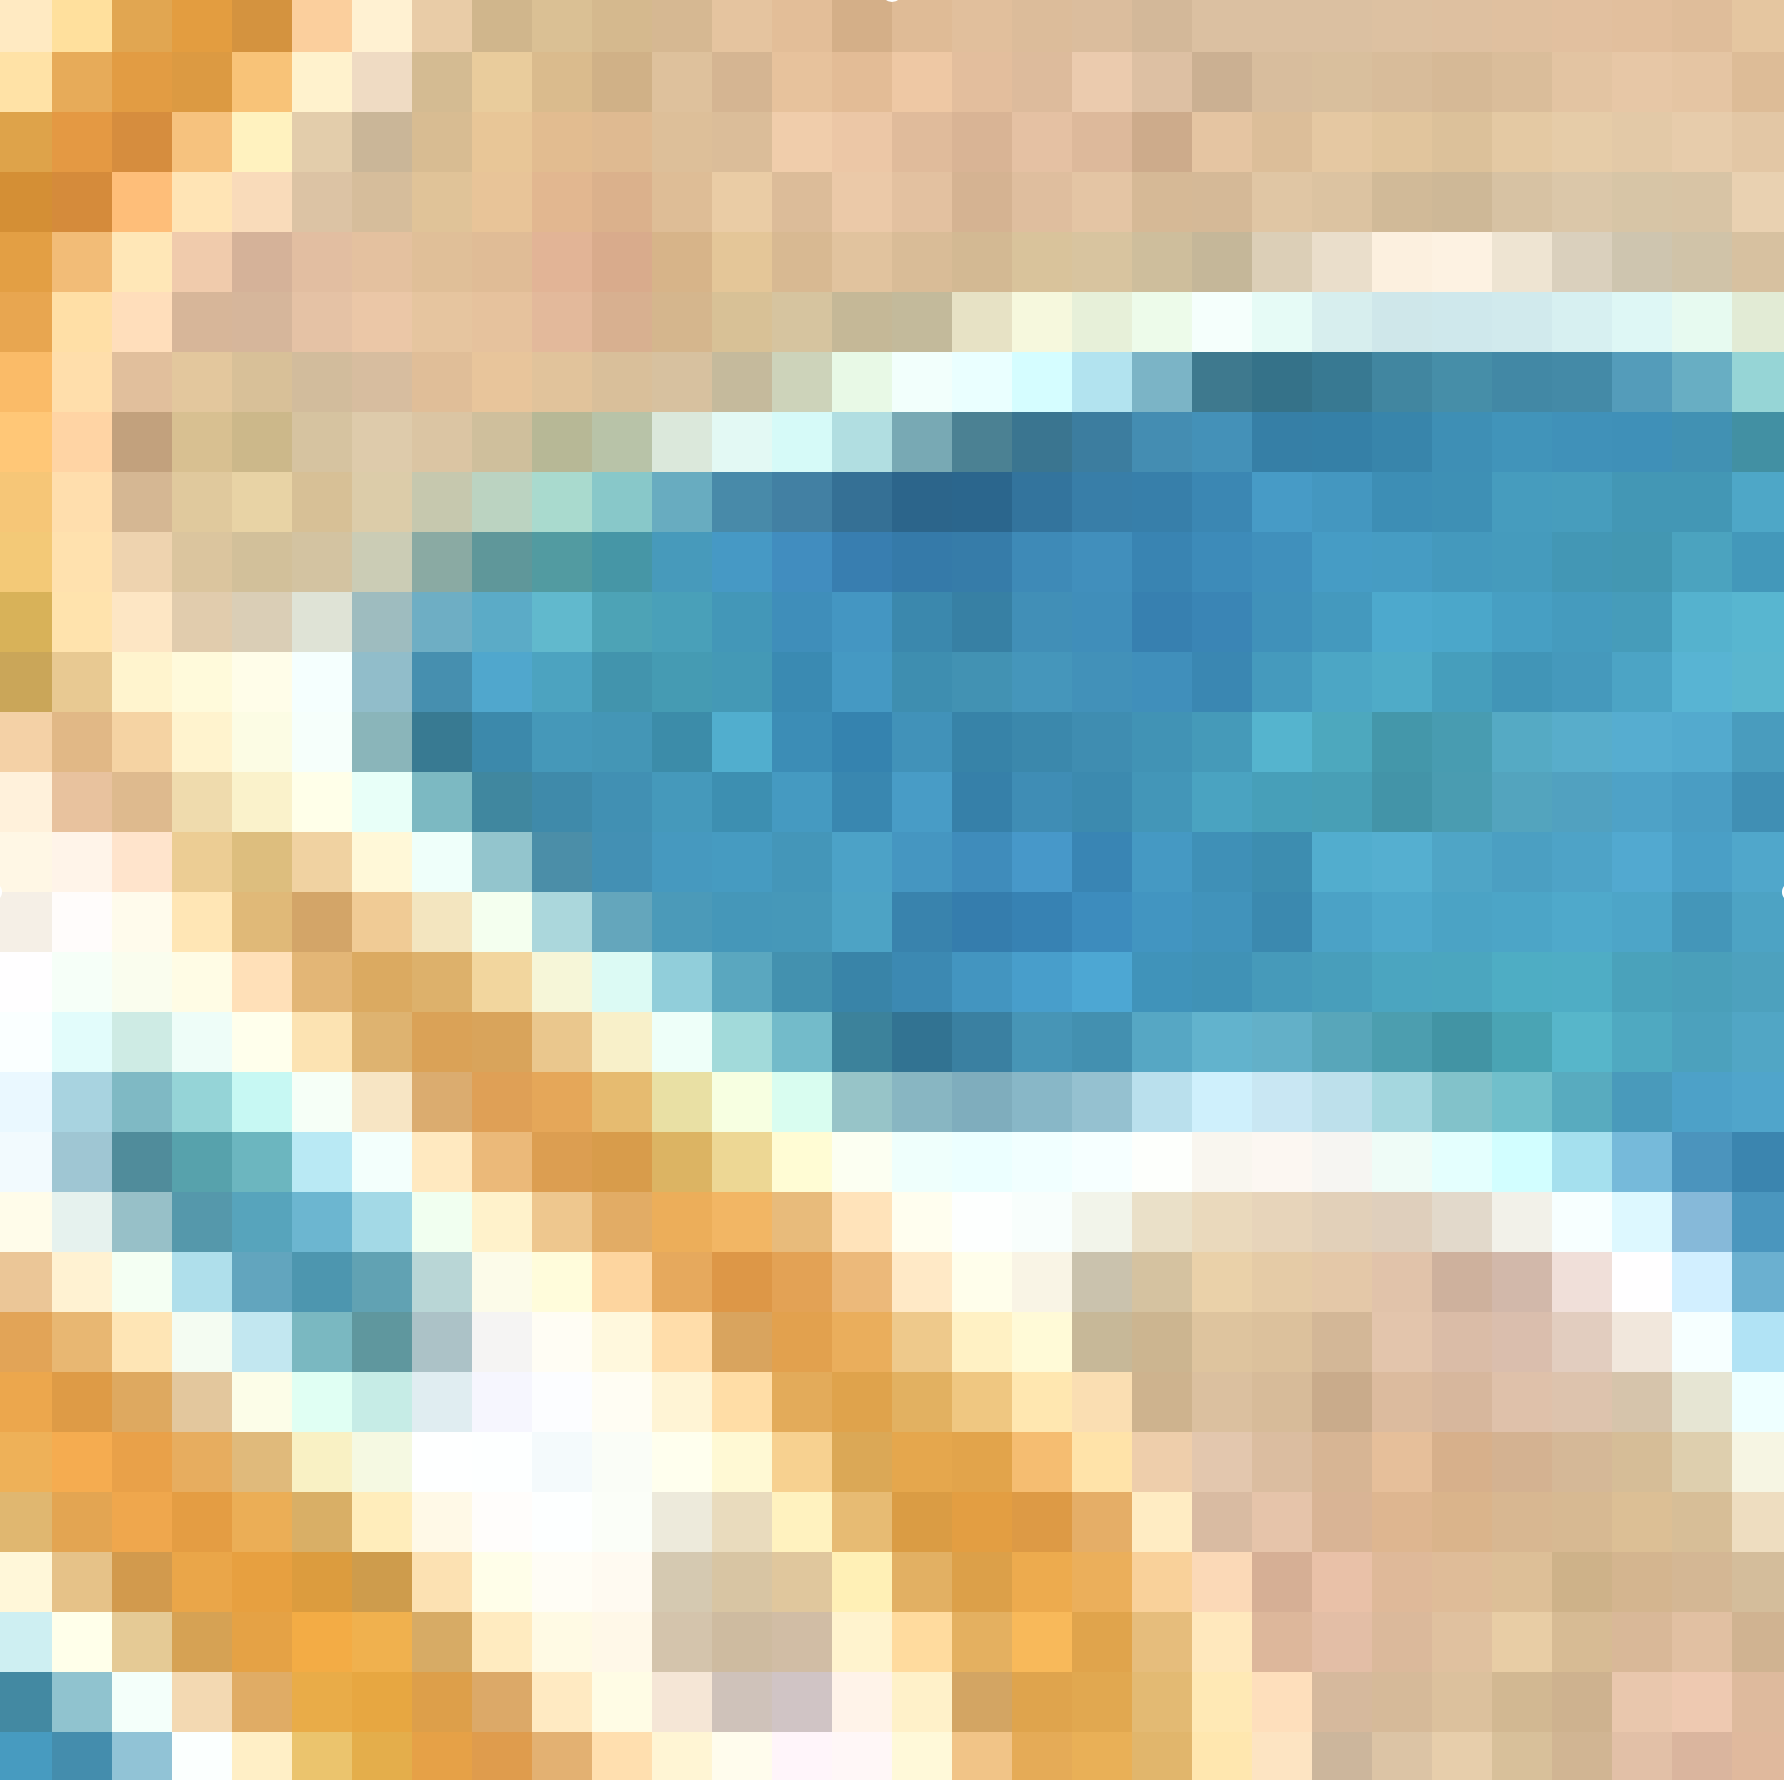
It loses the precision we look for in vector maps. We’d really rather do all that image processing…. *per frame*, so we can zoom in as far as we like.
It’s not as unbelievable as it sounds. That sort of pipeline underlies our Terrier product for weather visualization. It’s doable, has tricks to cut costs, and looks incredible.
It’s effortless in the style sheet. Designate the target as ‘real-time’. Then, the whole pipeline is run every frame.
Final Note on Stamen Watercolor
With these changes, we could create something similar to Stamen Watercolor in MapLibre. We could also make something useful with a lightweight image processing pipeline in the style spec. Throw in the real-time per-frame option, and you have a pretty serious feature.
Does anyone want to pay for it? That’s always the question now.
